Weather Seal Replacement · Sussex, WI

Seal out drafts, snowmelt and pests with new weatherstripping

Cracked bottom seals and flattened side stops let in cold air, water, leaves and mice. Replacing worn weatherstripping is one of the simplest, most cost-effective garage door improvements you can make.

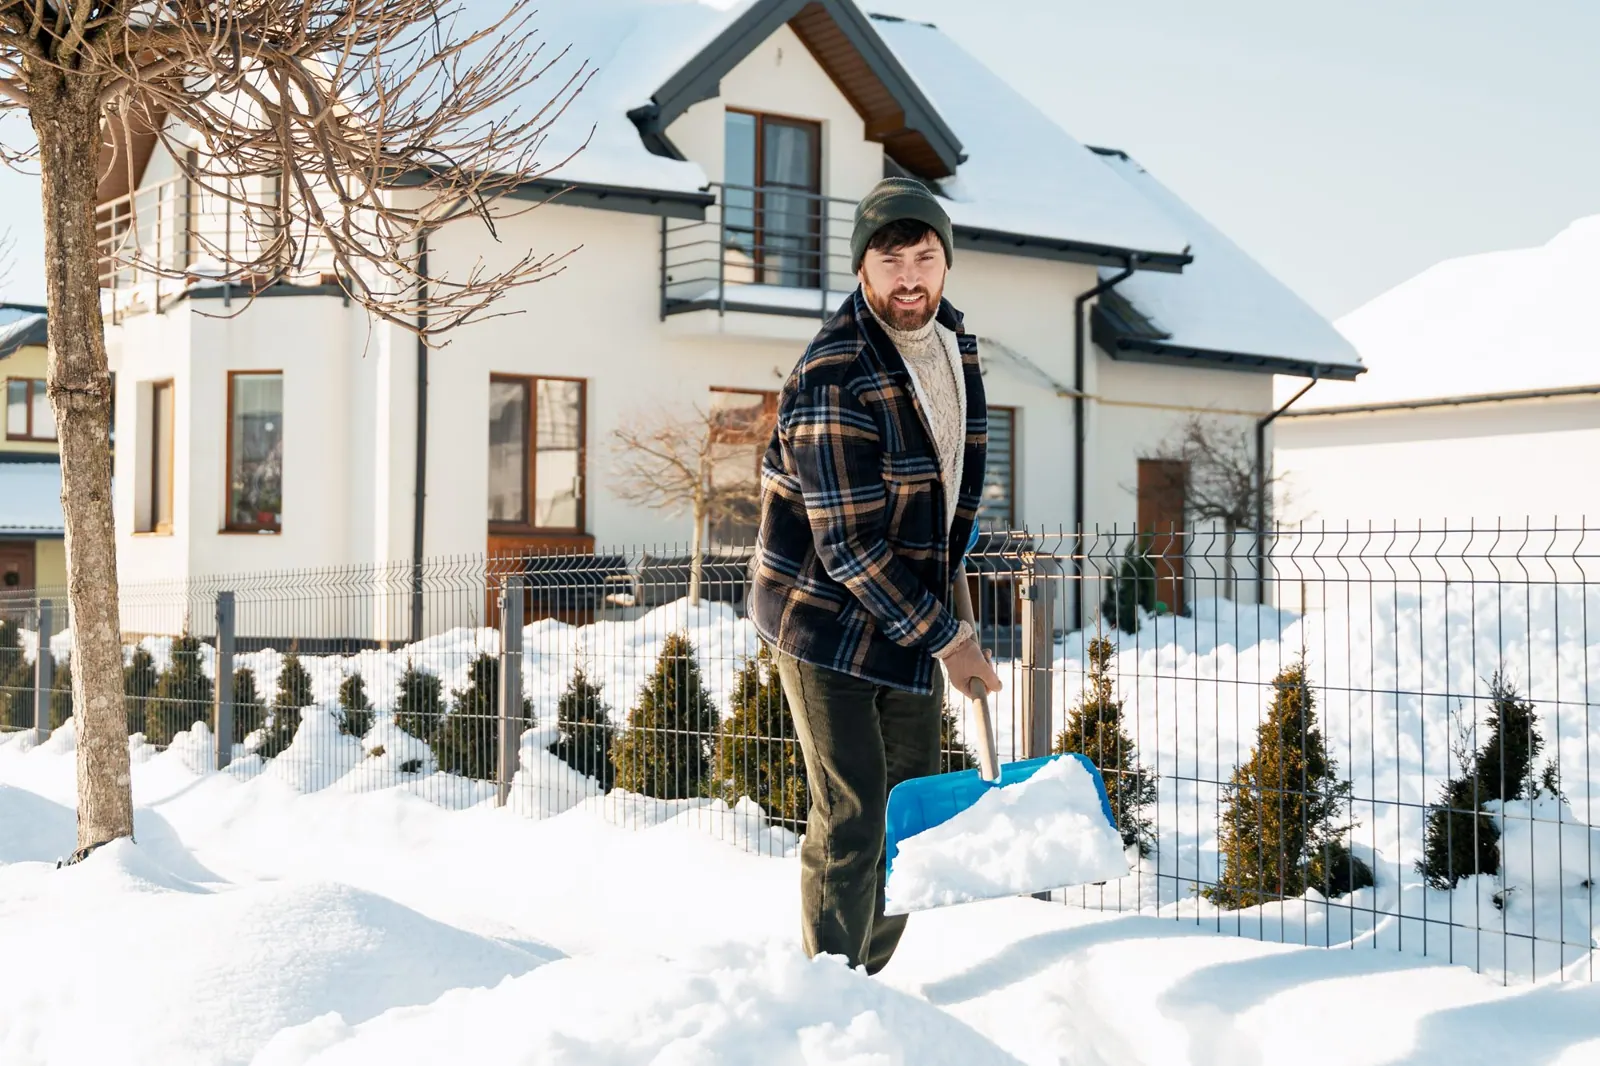
Homeowner shoveling deep snow from a driveway in front of a suburban home

Small strips of rubber, big consequences

Weatherstripping is easy to overlook. It’s a few strips of vinyl and rubber along the bottom and edges of the door. But on a two-car door, those strips seal a long perimeter against the weather. When they’re in good shape, they block cold air, rain, snowmelt, leaves, dust and pests. When they’re worn, every one of those gets in.

In a cold climate, the difference is noticeable. A garage with failed seals feels drafty and stays colder; snowmelt runs in under the door and refreezes on the floor; mice find their way in for the winter. Replacing seals costs a fraction of most garage door repairs, and the improvement is immediate.

The three kinds of garage door seals

Bottom seal

The bottom seal sits in a retainer along the base of the bottom section and presses against the floor when the door closes. It does the hardest job: it has to conform to concrete that may be uneven, cracked or sloped, and it sits in water, salt and ice all winter. Bottom seals come in many profiles — T-ends, beaded ends, J-ends, single and double fins, and bulbs of different heights — so the replacement must match the retainer on your door.

Perimeter stops

Perimeter stops (also called jamb seals or doorstops) run along the sides and top of the opening, attached to the frame. When the door closes, the flexible flap presses against the door face to block air. Over time, they flatten, crack, pull away from the jamb or get knocked loose.

Section seals

On many insulated doors, the joints between sections include their own seal or interlocking profile. These are part of the door itself and are generally addressed when a section is repaired or the door is replaced.

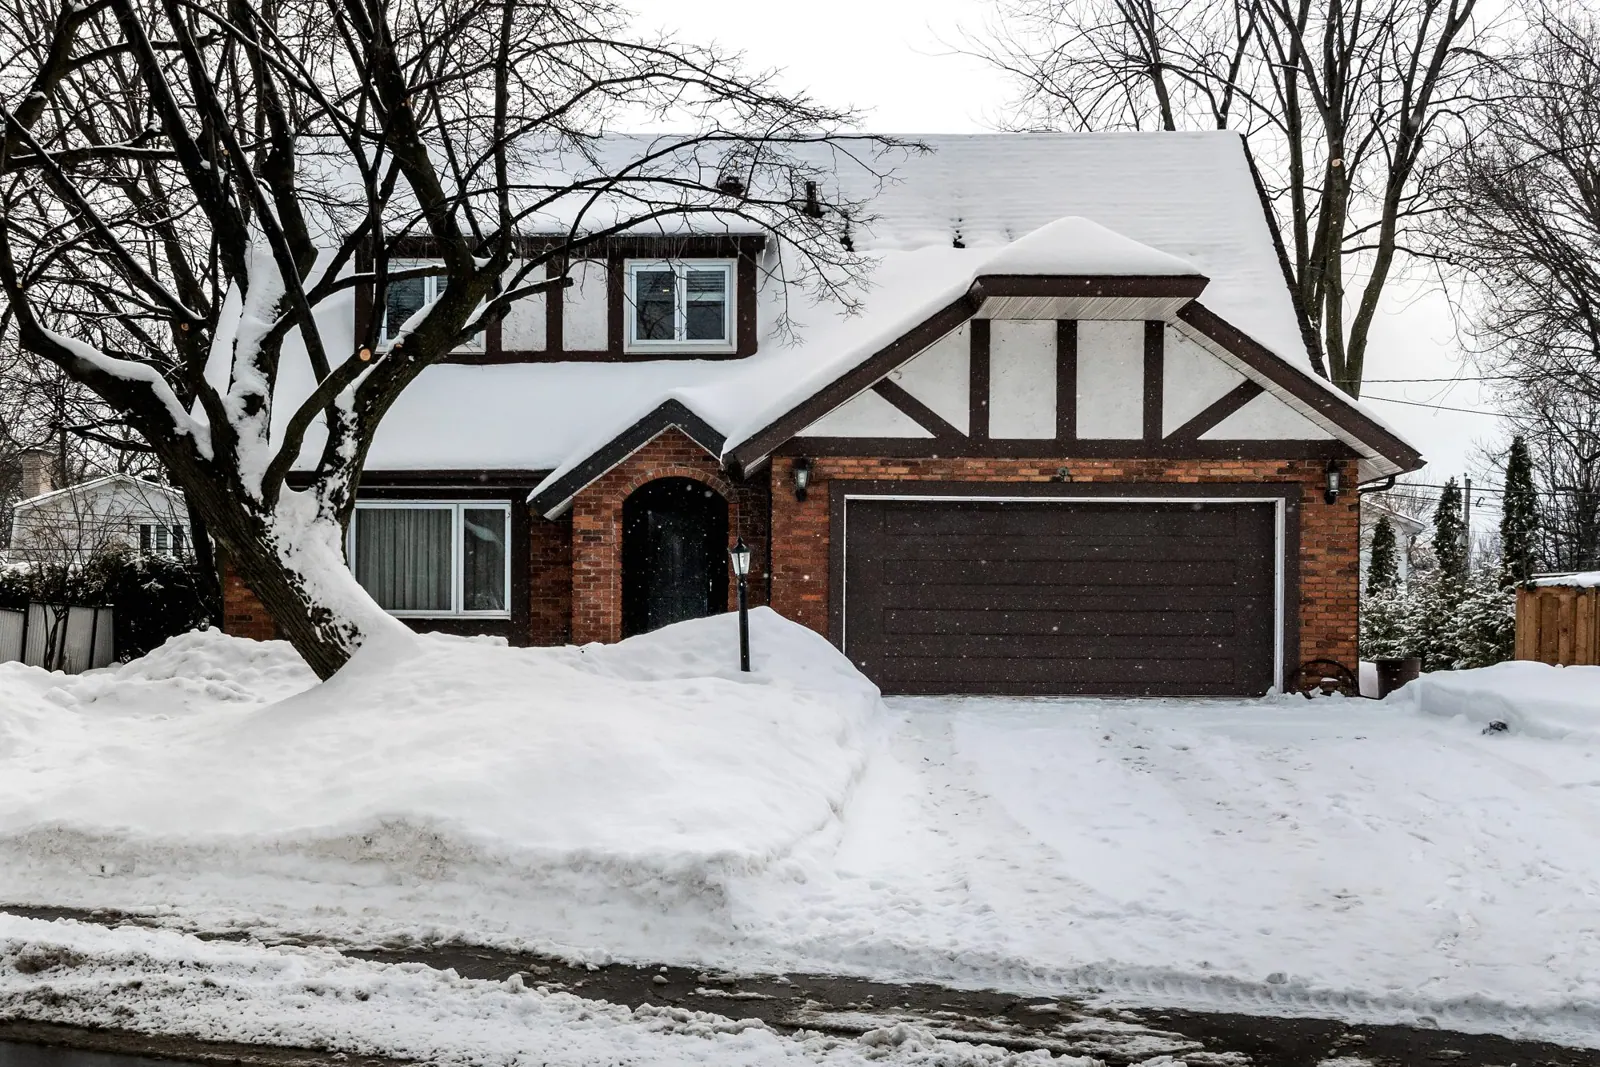
Snowy home and garage door in winter Winter is when failed seals become impossible to ignore.

i. What to watch for

Signs your garage door seals have failed

Seals wear gradually, so the signs are easy to overlook until winter makes them obvious.

01

Light under or around the door

With the door closed and the garage dark, visible daylight means air and water can get through too.

02

Water or snowmelt inside

Puddles just inside the door after rain or a thaw usually point to a failed bottom seal or a low spot in the slab.

03

Leaves and debris blowing in

Leaves collecting along the inside edge of the door are a sign of gaps along the bottom.

04

Mice and insects

Rodents need only a small gap to get in; worn seals at the corners are a common entry point.

05

Cracked, brittle or flattened rubber

Seals that have hardened, split or permanently compressed no longer conform to the floor or door.

06

The seal is frozen to the floor

Old seals that trap water can freeze to the slab and tear when the door opens.

Before & after

See the difference the right work makes

Drag the handle — or use your arrow keys — to compare.

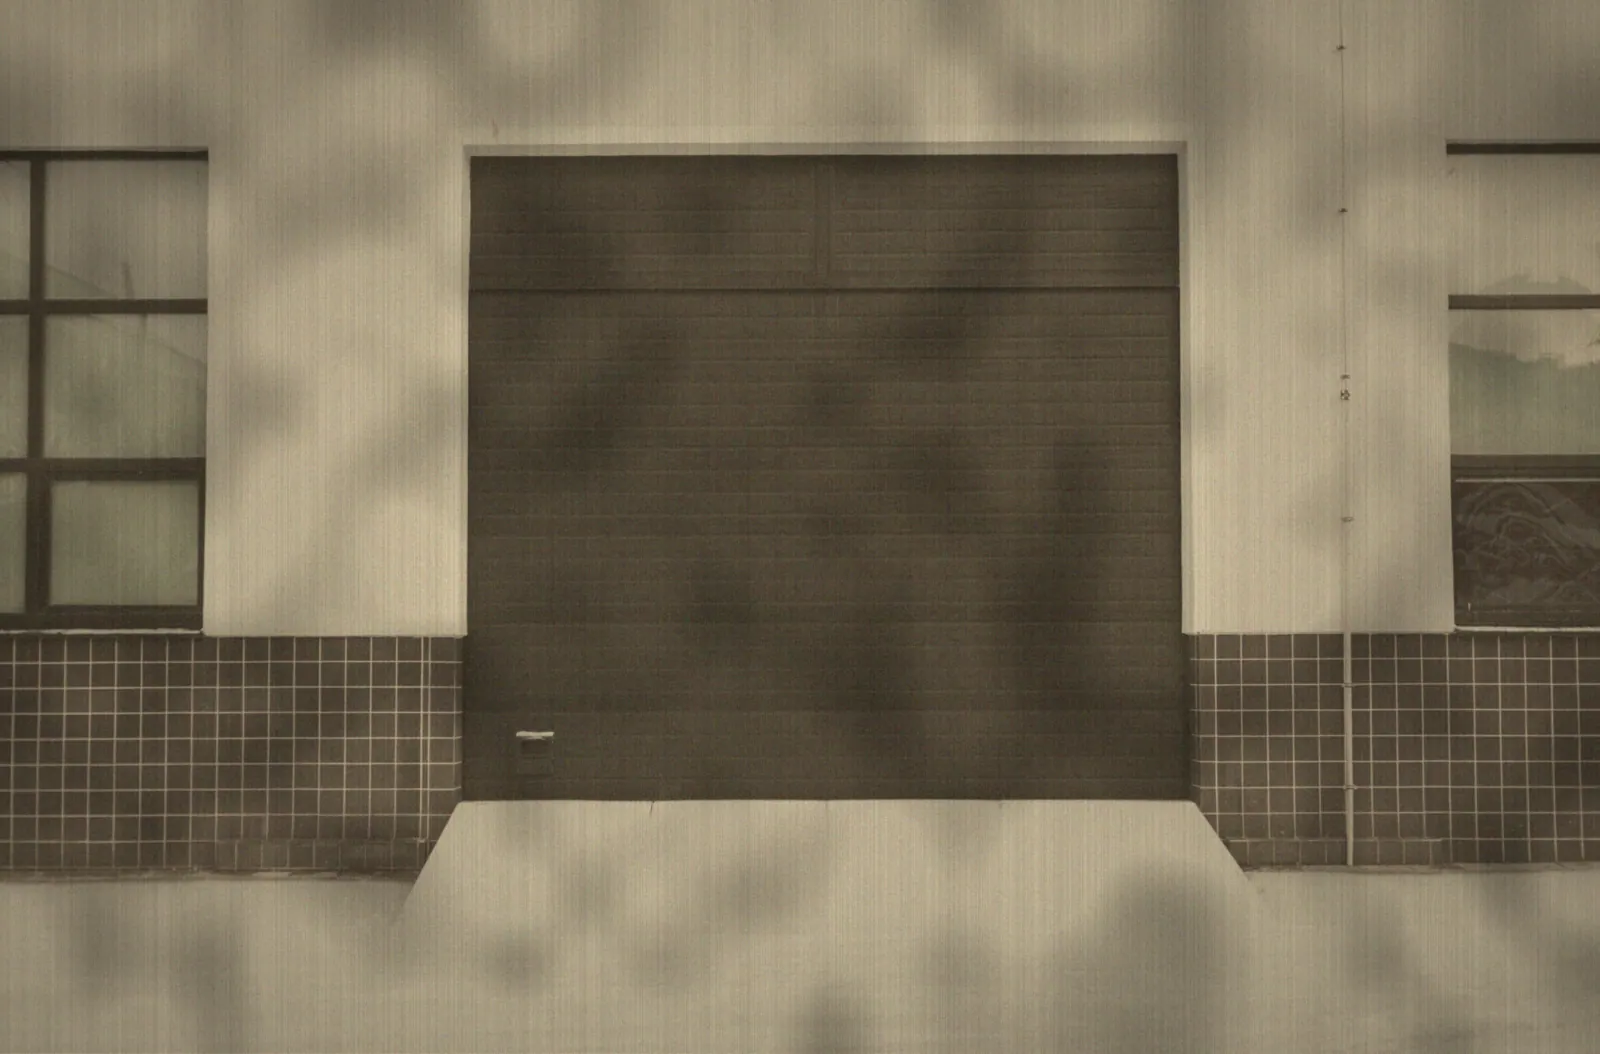
Dull, stained modern garage door with worn seals (simulated weathered condition)
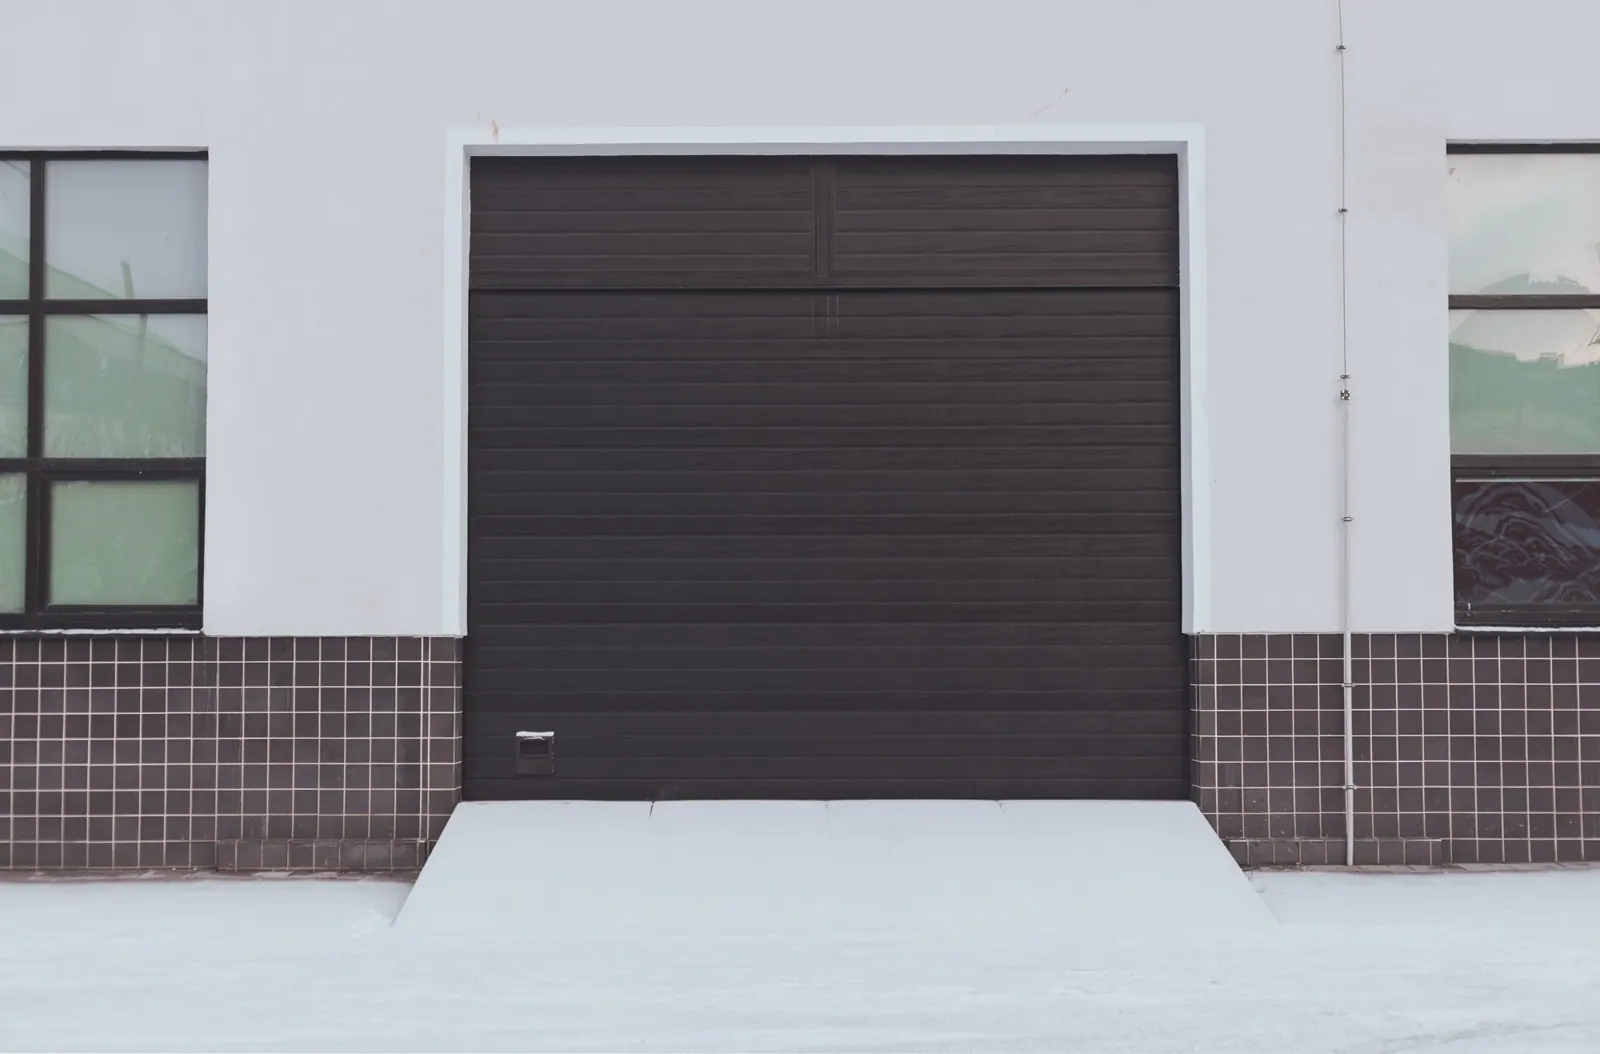
Clean modern dark garage door with a tight, even seal at the threshold
BeforeAfter
IllustrativeA grimy, weather-beaten door edge versus the same door with fresh seals closing evenly to the threshold. Illustrative concept: the “before” view is a digitally simulated condition of the same stock photo, not a customer project.

Choosing the right bottom seal for your floor

Garage floors are rarely perfectly flat. Settling, frost heave and cracking are common in older garages, and many slabs slope toward the door for drainage. A thin, single-fin seal works on a smooth, level floor. A taller bulb seal fills dips and gaps of varying depth. In some cases, a threshold seal on the floor works with the door seal to close a larger gap and redirect water.

We check the gap across the full width of the door before choosing a profile. The goal is a seal that touches the floor evenly along its entire length when the door is closed, without being so tall that the opener struggles to close the door.

Installation details that matter

  • Clean retainers. Dirt and corrosion in the bottom retainer make it hard to slide in a new seal and can tear it. We clean the channel first.
  • Correct length. Bottom seals are cut slightly long so they compress at the ends, sealing the corners where mice often enter.
  • Perimeter stop placement. Stops are set so the flap touches the closed door evenly — too tight and it drags on the door, too loose and it doesn’t seal.
  • Opener adjustment. After new seals are installed, the close limit is checked so the door compresses the seal properly and the auto-reverse still works.

Wisconsin weather and your seals

Sussex winters test weatherstripping hard. Cold makes some vinyl seals stiff and brittle, and road salt accelerates the breakdown of rubber and corrosion of the aluminum retainers they sit in. Freeze-thaw cycles can lift the slab slightly at the threshold, changing the gap the seal has to fill. We favor seal materials that stay flexible in cold weather and recommend a quick inspection every fall.

When the door freezes to the floor

If your door is frozen to the slab, don’t keep pressing the opener button. The opener can strip gears, bend the top section or tear the bottom seal free. Instead, gently free the seal by chipping away ice along the bottom edge, or use warm (not boiling) water carefully and dry the area afterward. Keeping the area clear of snow and slush reduces the chances it happens again.

Seals and insulated doors work together

An insulated door with failed seals still leaks air around its edges. If you’re considering an insulated door, plan on new seals at the same time. And if your door is in good condition but the garage feels drafty, fresh weatherstripping may be all it needs.

Keeping pests out

Mice and other small animals look for warm shelter as temperatures drop, and a garage with worn seals is an easy target. The corners of the bottom seal, where it meets the jambs, are the most common entry points. Making sure the bottom seal extends fully to each end, that perimeter stops meet the floor and that there are no torn sections goes a long way. If you’ve been dealing with pests in the garage, mention it when you request service and we’ll pay particular attention to those areas.

Water management at the threshold

Not all water problems are seal problems. Driveways that slope toward the garage, gutters that dump water near the door and garage floors that have settled can all push water under even a new seal. A threshold strip can help divert water in some cases, and clearing gutters and downspouts near the garage also helps. If water intrusion is persistent, we’ll point out what we see so you can decide whether other fixes are worthwhile alongside the seal.

Seals on commercial and oversized doors

Larger doors on workshops, pole buildings and commercial spaces use heavier bottom astragals and brush or vinyl perimeter seals sized for bigger openings. The principles are the same — seal the bottom, sides and top evenly — but the materials and mounting differ. If you have an oversized or commercial door, mention its size and type when you request service so we can plan for the right seal profiles.
ii. The visit

What to expect, step by step

1

Check from inside

With the door closed, we look for light and feel for drafts around all four sides.

2

Identify seal types

Bottom retainer style, seal profile and perimeter stop type are matched to your door.

3

Remove old seals

Old bottom seals are slid out of their retainer; worn perimeter stops are removed.

4

Install new weatherstripping

New seals are cut to length and installed; perimeter stops are set to touch the closed door evenly.

5

Adjust the close

Opener limit and force settings are checked so the door seals without crushing the seal.

iii. FAQ

Weather Seal & Weatherstripping Replacement questions

Straight answers to the things Sussex homeowners and business owners ask most about weather seal & weatherstripping replacement.

There’s no fixed schedule. Inspect seals each fall and replace them when they’re cracked, torn, brittle or no longer seal against the floor. In cold climates with salt exposure, seals often wear faster than in milder areas.

It depends on the retainer on your door’s bottom section. Common profiles include T-style, bead-style and J-style seals, and bulb or beaded seals in various heights. We identify the retainer and choose a profile that suits your floor’s condition.

Usually. A taller or more flexible bulb seal can conform to dips and slopes, and in some cases a threshold seal on the floor can help close a remaining gap. Severely heaved or cracked slabs may need concrete repair for the best result.

If they’re cracked or flattened, yes. Perimeter stops along the jambs and header block drafts that the bottom seal can’t. A full set gives the best result, especially on insulated doors.

Keep the area under the door as clear of snow and standing water as possible, make sure the bottom seal is in good condition, and consider a silicone-based treatment on the seal. If it’s frozen, free it gently rather than forcing it with the opener.

Free estimates

Ready to talk about weather seal & weatherstripping replacement?

Tell us what the door is doing — or not doing — and we’ll follow up to talk through options and set up a visit. Estimates are free.